 Curator
24 August, 2026
Curator
24 August, 2026
The Practical 1/3 Method for Photoshop Beginners: The Non-Artist’s Guide to Commercial Design
The Practical 1/3 Method for Photoshop Beginners: A Non-Artist’s Guide to High-Converting Commercial Posters
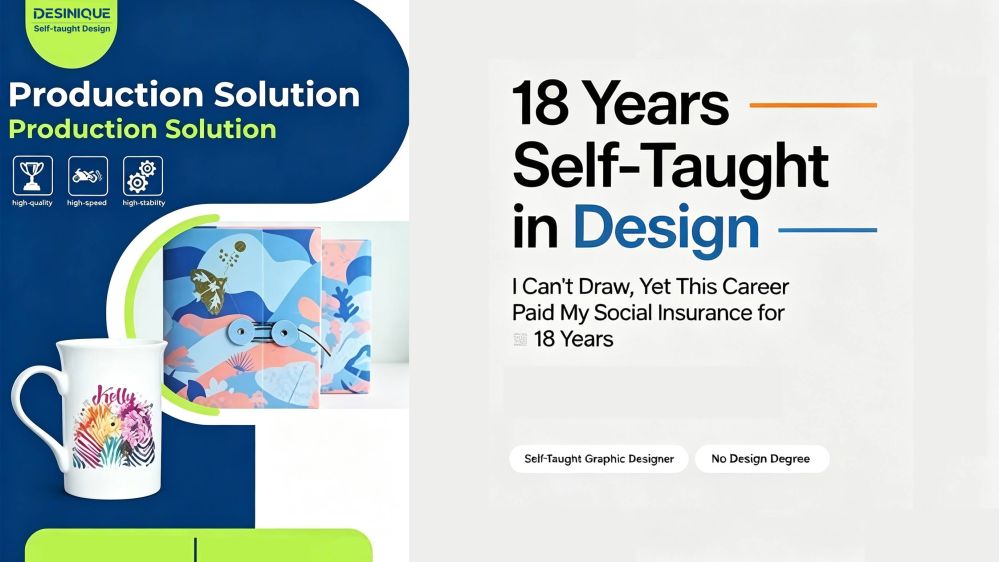
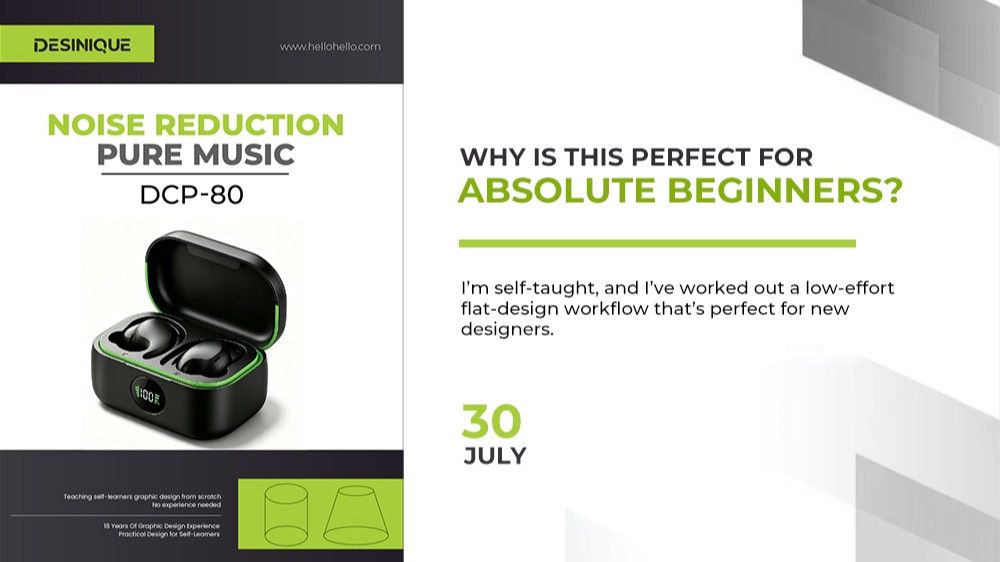
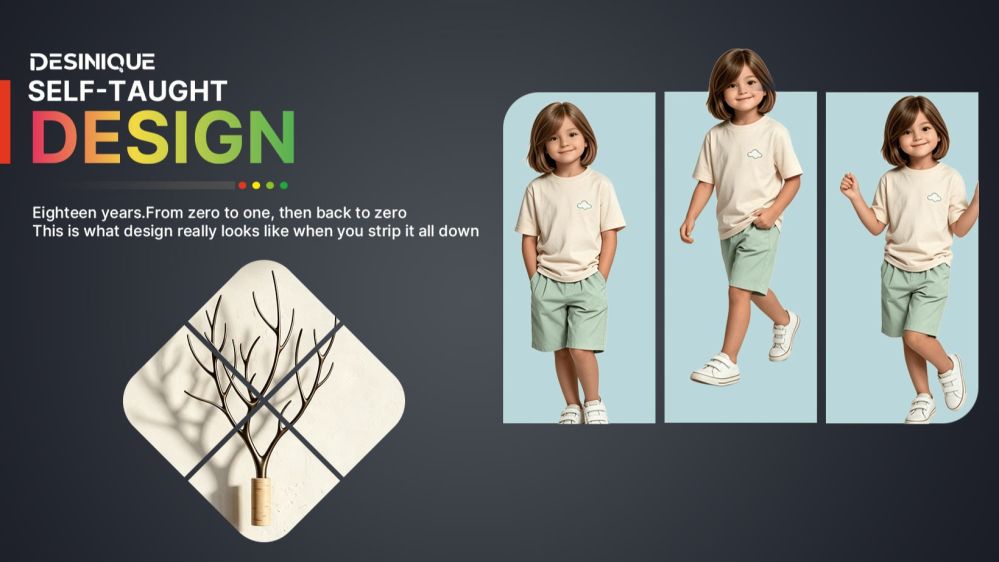
This approach is not theoretical guesswork. It is a proprietary system developed from **over 18 years of self-taught design and commercial battle-tested experience**. Built specifically for absolute beginners who do not have drawing skills and want to bypass steep learning curves, it cuts out the software bloat and delivers only the most practical, actionable design fundamentals.
Step-by-Step Tutorial: 6 Steps to a High-Converting Commercial Poster
1. Set Up the Canvas and Base Fill
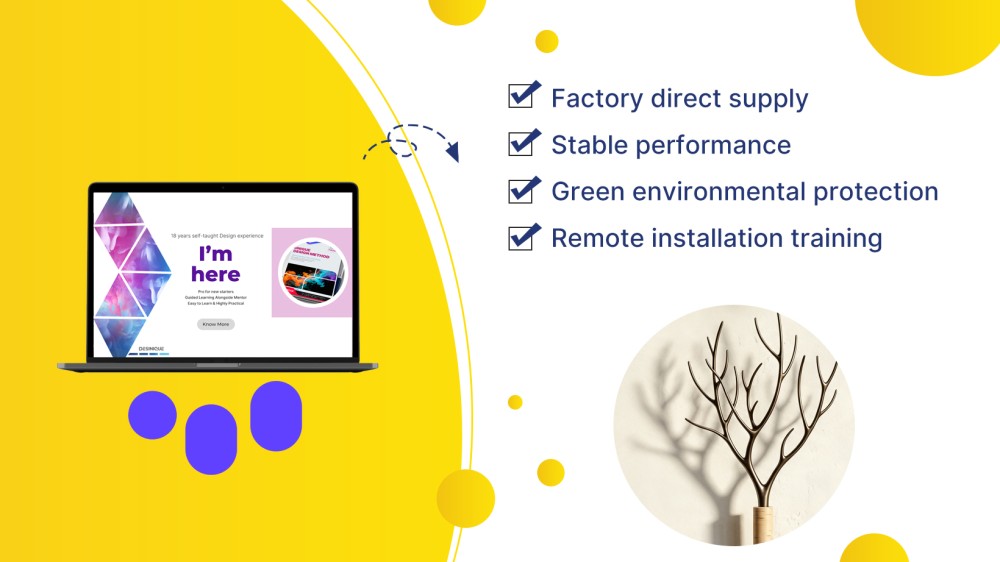
Create a new document at `1920 × 1080 px` (standard 16:9 widescreen ratio) with a resolution of `72 PPI` for digital/web assets (or `300 PPI` for high-resolution print) in RGB Color mode. Fill the background layer with pure white (`#FFFFFF`) to establish a clean, minimalist negative space for high-contrast color blocking.
2. Draw the Primary Yellow Visual Arc
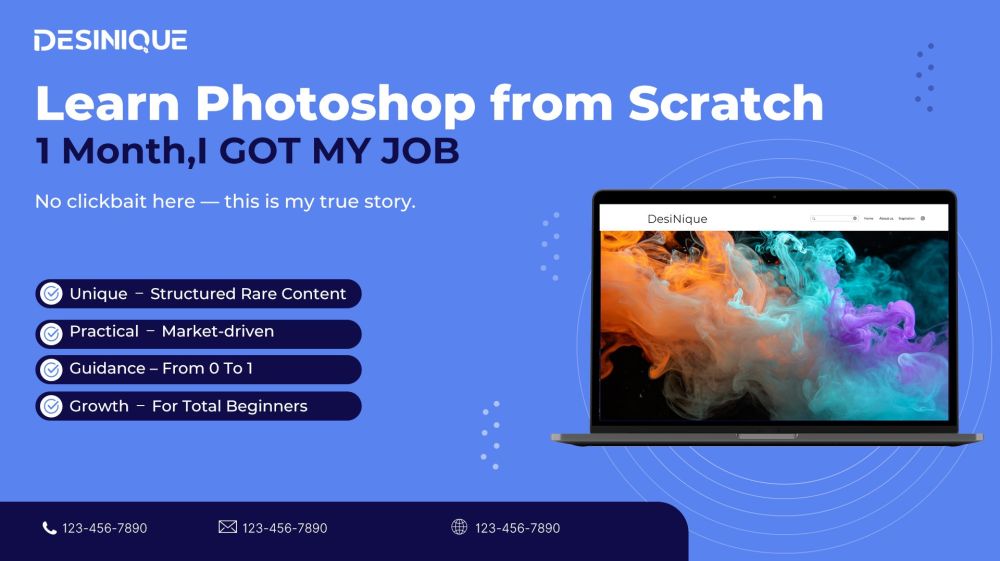
Select the Ellipse Tool (U), hold down `Shift`, and drag to create a large proportional circle. Set the fill color to vibrant yellow (`#FFCC00`). Switch to the **Move Tool (V)** and drag the shape significantly to the left so that only the right curve extends into the left 1/3 of the canvas, establishing a distinct color block separation.
3. Place the Laptop Mockup and Apply a Clipping Mask
Import a transparent PNG laptop mockup and position it over the intersection line of the yellow arc. Place your website or UI design layer directly above the laptop screen layer. Press `Ctrl + Alt + G` (Mac: `Cmd + Option + G`) to create a **Clipping Mask**, locking the graphic precisely inside the device display.
4. Build a Circular Product Inset Window
Select the Ellipse Tool (U) and draw a medium-sized circle in the lower-right empty area. Import a high-resolution product close-up photo, place it above the circle layer, and apply a Clipping Mask again to display product details within an elegant circular viewport.
5. Typeset Value Propositions and Icons
Select the Horizontal Type Tool (T) with a modern bold sans-serif font (such as Inter, Poppins, or Montserrat) and enter your core copy (Factory direct supply, Stable performance, etc.) in deep navy (`#1B2E60`). Place checkmark icons to the left of each text line. Use the Align and Distribute options in the top Options bar to maintain uniform vertical spacing.
6. Add Visual Flow Lines and Geometric Accents
Directional Guide: Use the Pen Tool (P) with a stroked dashed path and an arrowhead preset to draw a subtle curved line from the laptop screen pointing toward the copy, steering viewer eye-tracking. Geometric Micro-Accents: Scatter small yellow circles across the background, and use the **Rounded Rectangle Tool (U)** beneath the laptop to add 3 purple pill-shaped accents, injecting rhythm and balance into the overall composition.
Tool Breakdown: Built Entirely with 5 Essential Tools
This Essential Photoshop tools for fast banner design workflow eliminates software bloat. The entire layout relies on only: 1.Move Tool (V)**: Positioning, layer transformation, and alignment.、 2.Shape Tools (U)**: Drawing geometric color blocks, circular frames, and UI accents. 3.Horizontal Type Tool (T)**: Structuring clean, readable text hierarchies. 4.Pen Tool (P)**: Drawing smooth directional dashed paths and arrows. 5.Clipping Mask**: Nesting content non-destructively into frames and device screens.
Commercial design is about communication efficiency, not software complexity. Master this 1/3 method to start shipping production-grade commercial visuals immediately.
Popular