 Curator
18 September, 2026
Curator
18 September, 2026
Practical 1/3 Method for Photoshop Beginners: 3 Essential Cutout Tools
When diving into photo editing for the first time, it is easy to get hit with severe Photoshop tool anxiety. Staring at dozens of icons and complex panels can leave anyone feeling stuck before they even begin.
Here is the good news: commercial design and e-commerce work do not require mastering every single button in the toolbar. That is the exact philosophy behind the practical 1/3 method for photoshop beginners. Focus on mastering the core 1/3 of the tools you will reach for every day, and you can easily tackle over 90% of real-world design challenges.
Building a dependable, clean selection workflow is what separates amateur cutouts from pro results. It keeps your edges crisp, stops color bleeding, and significantly speeds up your turnaround time. By focusing on these essential cutout tools for photoshop, anyone starting from scratch can tackle complex subjects with complete confidence.
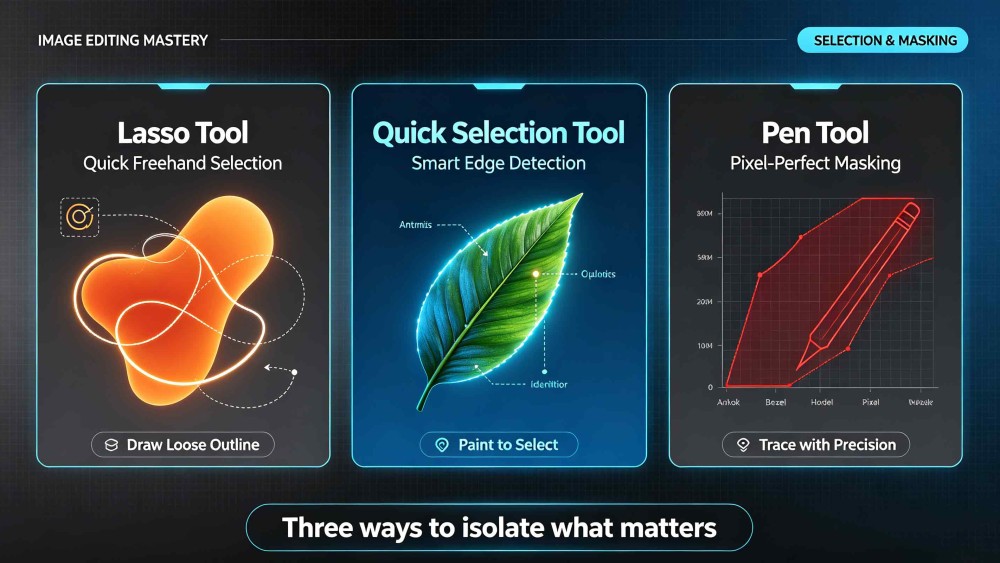
1. Lasso Tool Group: Fast, Broad Selection Framing
Ideal for separating subjects from busy backgrounds or handling hard-edged, geometric objects.
●Lasso Tool: Draw a loose, freehand loop around your subject. This immediately isolates it from background noise and cuts down visual clutter before precise work.
●Polygonal Lasso Tool: Every click drops a straight edge segment, making it perfect for boxing up tech gadgets, books, and packaging. If a point lands off-target, tap the Delete key to back up one anchor point without restarting.
2. Quick Selection Tool: Smart Edge Snapping
Best suited for portraits or still life objects where the subject has decent color contrast against its background.
●Select the tool and paint over the interior of your subject just like you are using a standard brush.
●The built-in algorithm calculates contrast differences and snaps right to the edges automatically. It builds clean selections fast, saving you massive amounts of manual effort.
3. Pen Tool: Pixel-Accurate Contour Precision
The undisputed industry standard for high-end commercial product work and sweeping, organic curves like car bodies or glassware.
●Click on an edge to drop your first anchor point. When you hit a curve, click and drag without releasing the mouse to pull out directional handles that hug the shape.
●The pro technique: Hold down the Alt key and click the anchor point you just placed. This breaks the forward direction handle, keeping your next curve segment completely under control.
●Once the path loops all the way back to the start and closes, press Ctrl + Enter to turn the path into an active selection. Then press Ctrl + J to duplicate the clean subject onto a fresh layer, leaving behind smooth borders and zero background fringing.
Understanding how selections actually function is one of the most valuable foundations in commercial visual design. Avoid reaching for the Eraser Tool to permanently delete pixels on your raw images. Build strong non-destructive habits using dedicated layers and system shortcuts, and you will consistently create clean, polished, and client-ready artwork.
Popular